


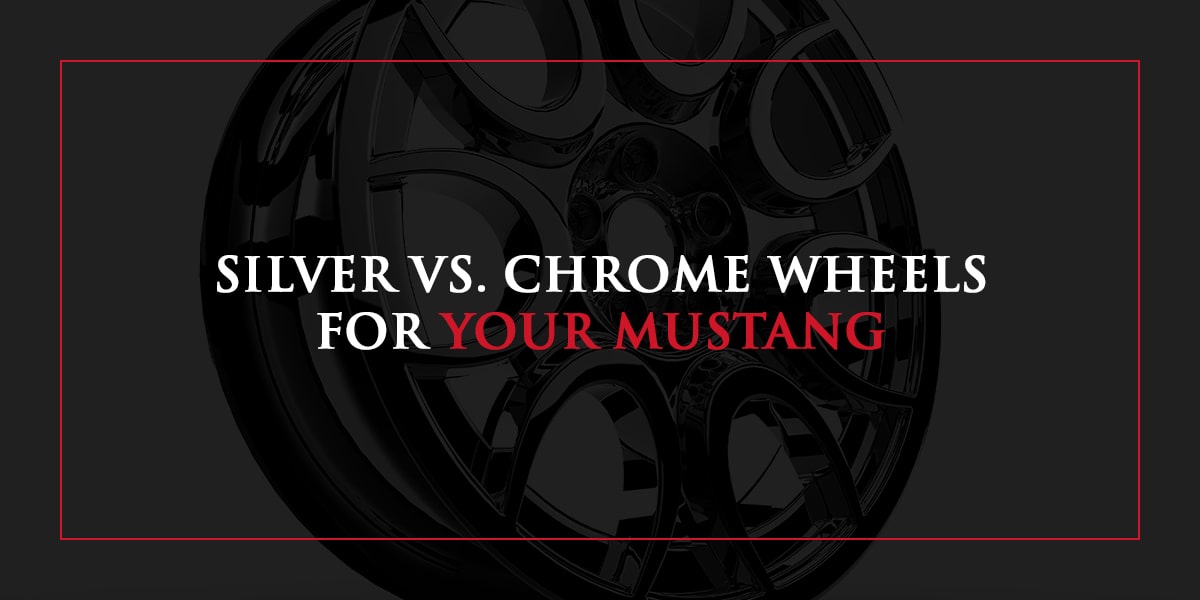
Silver vs. Chrome Wheels for Your Mustang
The finish of your wheels has a tremendous impact on the look and feel of your vehicle. Moreover, different wheels have different life spans and maintenance...
Read More
Silver vs. Chrome Wheels for Your Mustang
The finish of your wheels has a tremendous impact on the look and feel of your vehicle. Moreover, different wheels have different life spans and maintenance...
Read More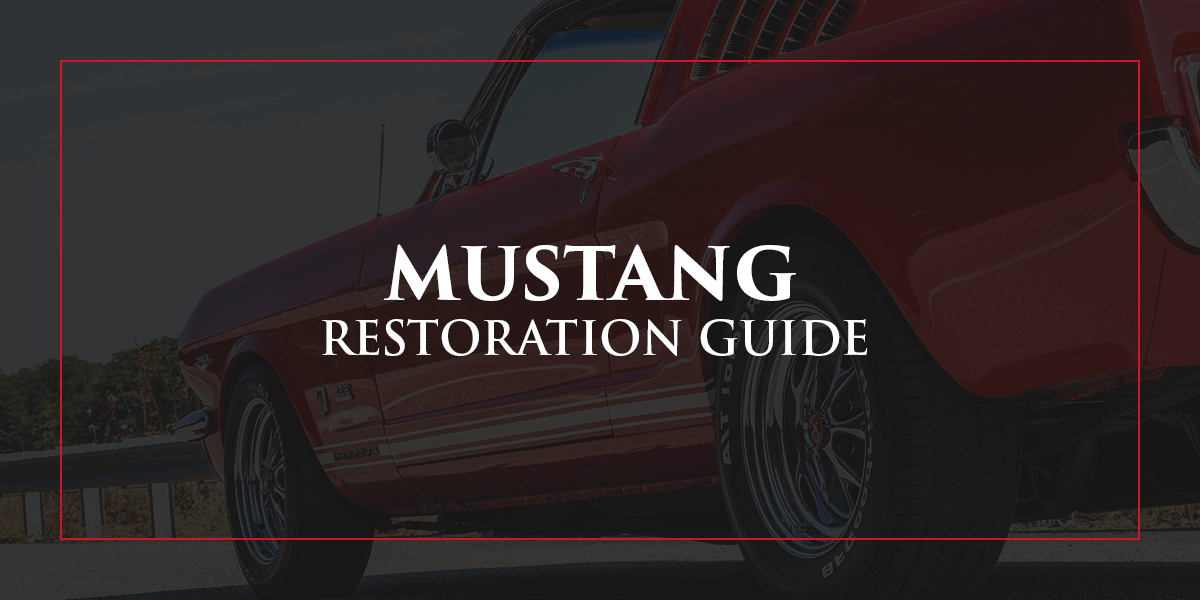
Mustang Restoration Guide
Mustang restoration can be overwhelming when you are a beginner, and deciding which car to restore can be a challenge. Use this Mustang restoration guide...
Read More
How a Pony Defined a Car!
When Ford was working on designs for a new car in the early 1960s many names were considered, including Allegro, Avanti, Torino and Cougar. When the dust settled...
Read MoreAt Top Flight Automotive, we strive to supply you with parts and accessories for your Mustang that you can use right out of the box. Because we carry listings from the greatest brands, Top Flight Automotive is a one-stop shop for the components and add-ons you want for restoration, repair and customization projects.
Our site features more than 10,000 parts and accessories, so look through our catalog for offerings that’ll keep your muscle car functional and stylish.
You can find parts and accessories for the Classic, Fox Body, SN95, S197 and S550 muscle cars on our site. Use our guide below for assistance picking out interior, exterior and performance listings:
We mean it when we say we provide the largest collection of Ford Mustang parts and accessories. Perform maintenance and customization tasks involving your favorite Mustang models like the Shelby, Boss, GT350, GT500 and Cobra vehicles with our most popular offerings:
When you shop with Top Flight Automotive, you get the satisfaction of knowing your Mustang parts and accessories are produced by reputable brands. Browse our listings by brand to get started.
Repair any interior or exterior system on a 1965-1973 Classic Mustang with Top Flight Automotive. We emphasize authenticity with first-generation Mustang components. Fix up coupe or convertible body styles with model-specific parts like:
Our site is home to various third-generation Mustang car parts, including electrical components, filters, oil pans and door locks. Turn to us for hard-to-find technology compatible with the 1979-1993 Ford Mustangs:
Purchase parts and accessories for both iterations of the fourth-generation series — the SN95 and New Edge Ford Mustangs. We’re proud to offer technology for fan-favorite ‘Stangs that experienced 10 years of production:
People gravitate to fifth-generation Mustangs because of their elongated shapes, large wheels, roaring V8s and top-of-the-line safety features. Top Flight Automotive will supply you with the S197 components and accessories you require for a unique look and exhaust sound:
We’re excited to stock parts and accessories for the most impressive Mustang models to date. Maximize EcoBoost engine performance or fine-tune your driving experience with S550 technology, such as:
Make your Mustang faster and highly efficient with performance parts from Top Flight Automotive. We carry listings brought to you by brands like APR Performance, Hawk Performance and California Pony Cars:
Top Flight Automotive’s store is ever-expanding with interior and exterior parts and accessories for your favorite Mustang generations. Make our site your one-stop shop for Mustang components and add-ons. Most of our offerings are eligible for quick shipping.
Click through our online store to purchase parts and accessories for your Mustang model today!
Register to subscribe to our Top Flight Automotive email newsletter.